Day Five: Cookin' up something good!
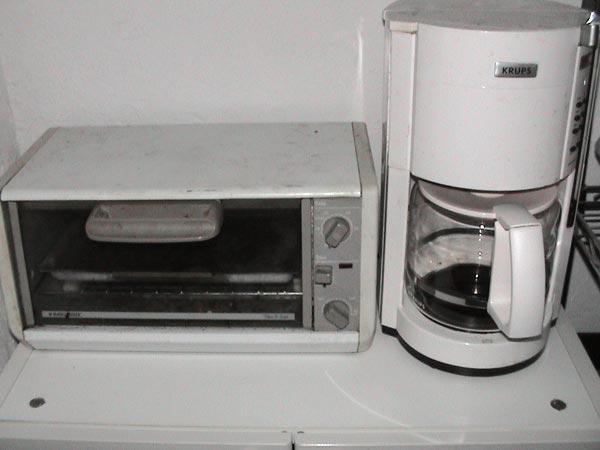
Today I began the process of removing the existing kitchen to make way for the new bedroom. And what more do you need than a toaster oven and coffee maker? (Krups, notice the prominent Krups product placement.) If I'd realized that a few months ago, I could have saved myself a lot of work and money.
Today actually began with my second trip to the dump. 620 pounds later, I was on my way to Home Depot (still waiting for those royalty checks for every time I mention the name...) to get some lumber and drywall. Nothing makes you feel like you're really building something like buying some 2x4s and drywall. You look at the guy behind you whose getting one of them Garden Weasels or the couple across the aisle who needed six brass hooks and a 2 foot piece of ornamental trim (obviously up to something crafty or whimsical, or both).
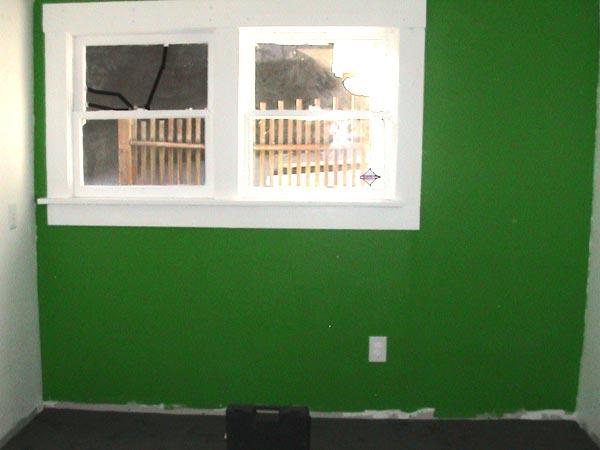
But back to serious construction work. To set the stage, here are some before shots of what was the current kitchen. Note that when we moved into the house, there was no kitchen, so when we put this in place we figured it was a 2 year temporary kitchen and then we'll see. It's been just shy of two years, and we realized it wasn't working. Anyway, here's what it was like last night...
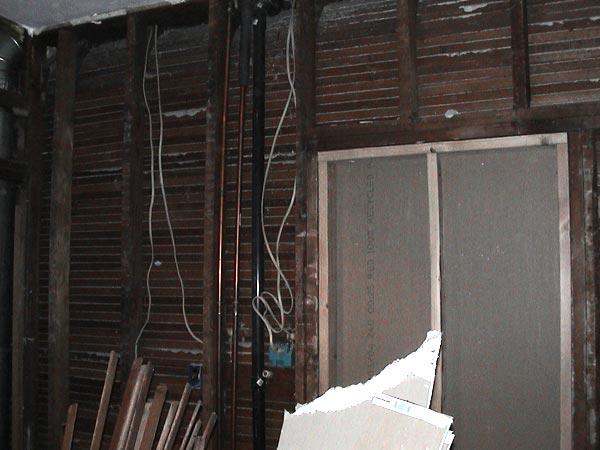
 (above: the north wall of the kitchen)
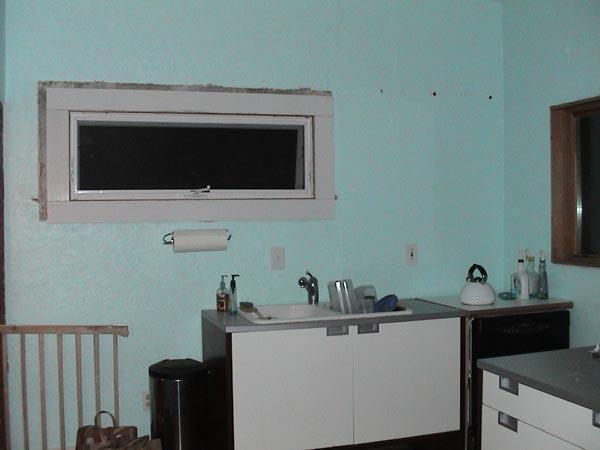
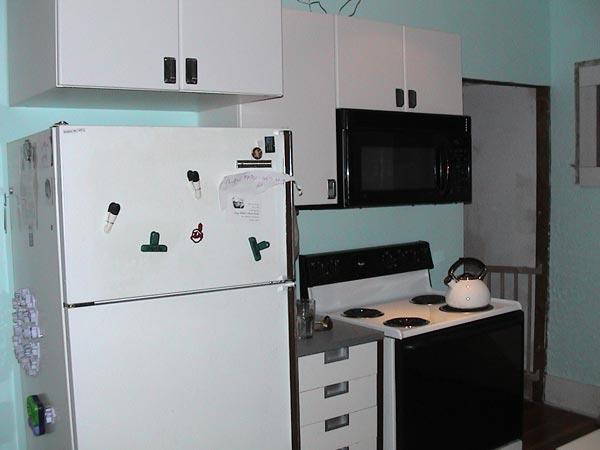 (above: the west wall of the kitchen)
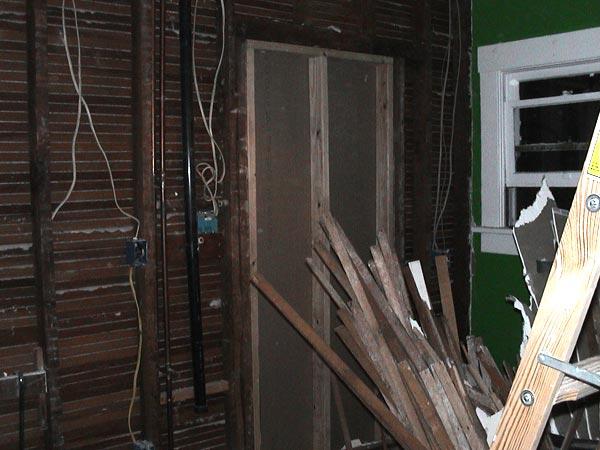
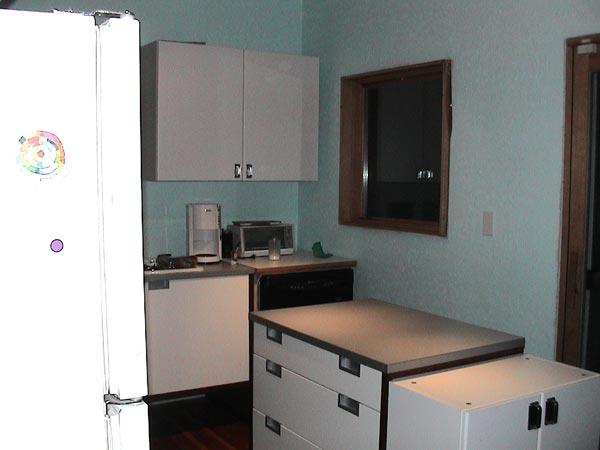 (above: the north and east walls of the kitchen)
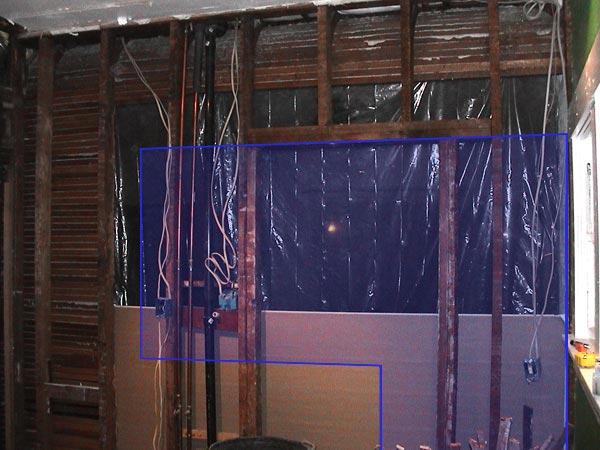
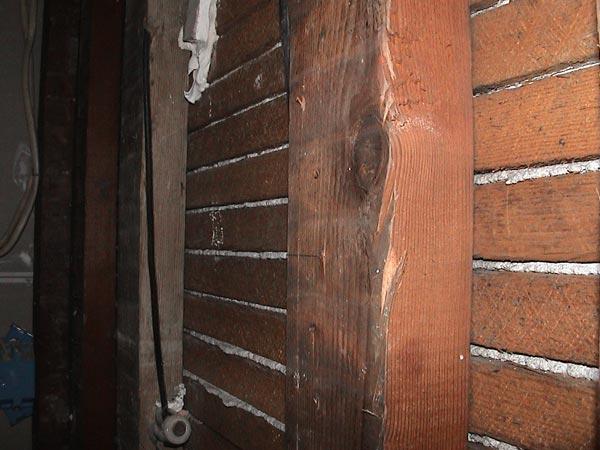
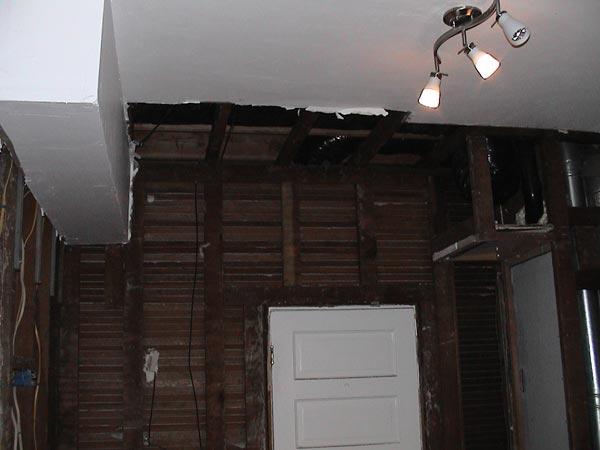
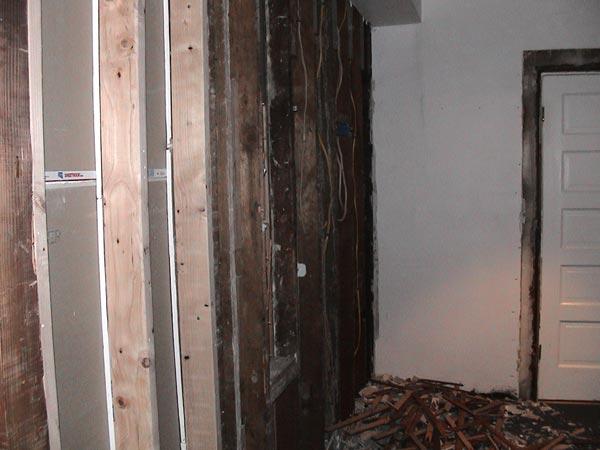
But now...
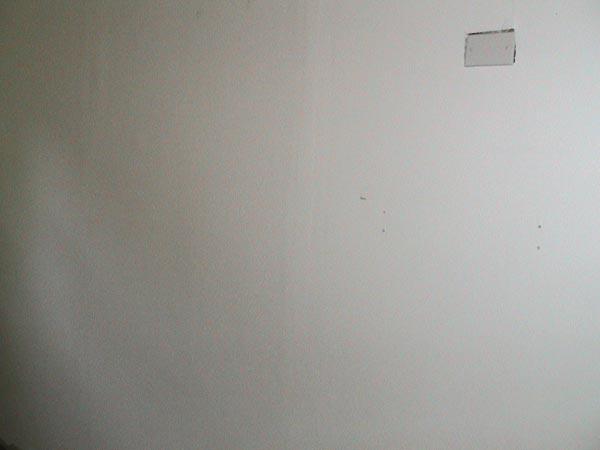
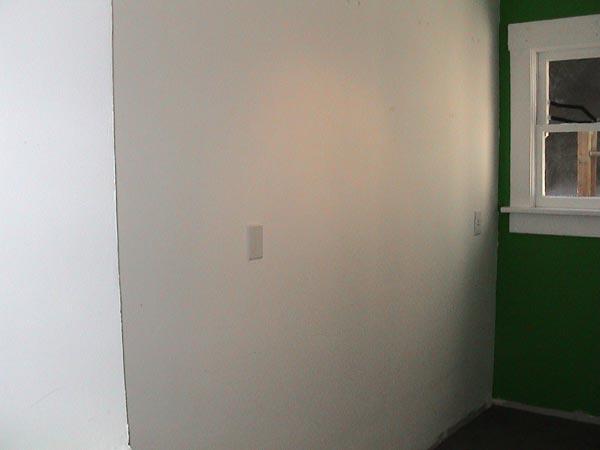
 (above: the north wall of the kitchen)
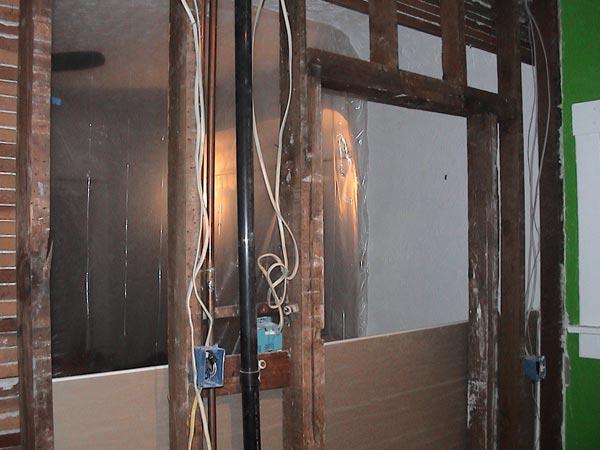
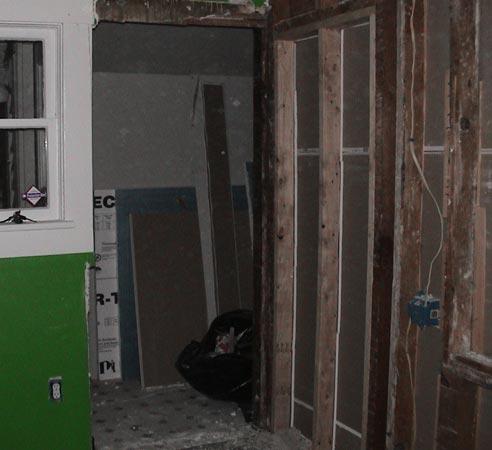
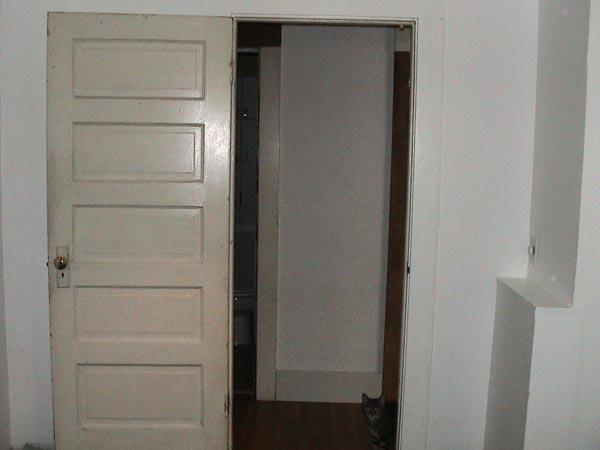
 (above: the west wall of the kitchen)
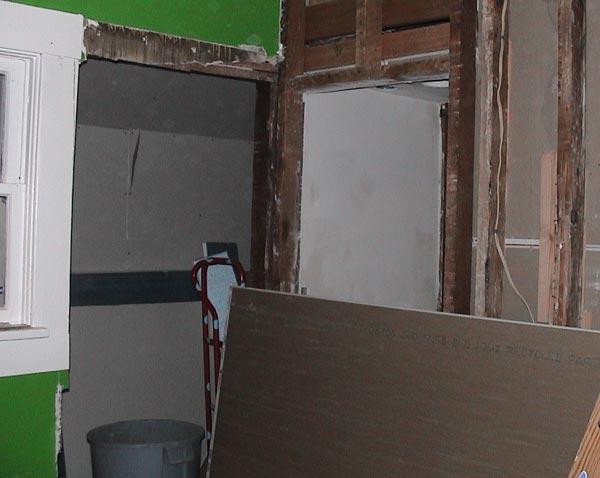
Tomorrow I start building the walls to frame in this room to be a bedroom, and hook the electrical back up so I can have some light in there. But I'm keeping the sink and dishwasher in place until the absolute last minute.
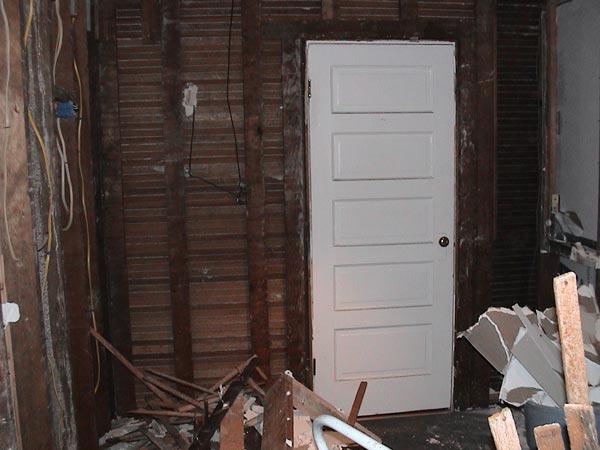
One other thing I didn't take pics of was removing a door between one of the bedrooms and the bathroom on the main floor. We weren't using this door at all (the door was painted shut), plus it opens in the right direction for the new bedroom, so being resourceful and thrifty people, we salvaged it to use again. Tomorrow will also be putting some framing in where the doorway was, and hanging some drywall on it.
See you tomorrow.
posted by Stephen Landau at 11:25 PM
1 comments
![]()